


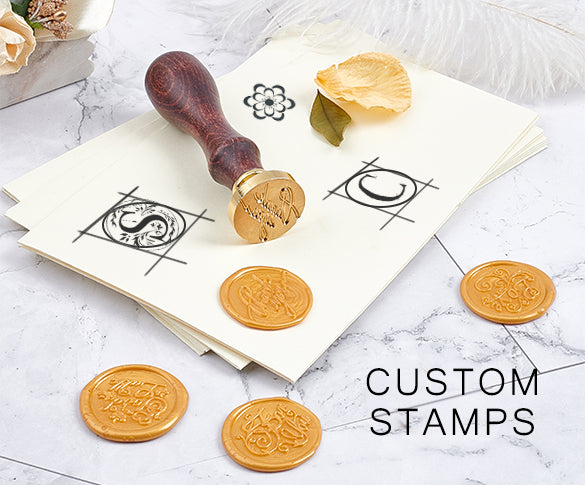


Craspire DIY Project--How To Make Floral Mix Wax Seal Stamps
Hello, my dear friends, welcome to Craspire project. Today we are going to share how to make floral mix wax seal stamp crafts with 25mm wax seal stamp head. In this tutorial, we use a flower pattern. Read more and start with Craspire!

Supplies Needed for This Project:
Wax beads metal melting furnace
Marble pattern ceramic wax seal mat
Mixed color Octagon Sealing Wax Beads
Star wax seal beads (Mixed Colors)
Tealight candle
Lighter

Step 1: Melting wax beads
1. First prepare a lighter and candle, and light the candle.Be careful of burns.
2. Put the lighted candle in the metal melting furnace and choose a spacious place to make the wax seal stamp.
3. Pick several colors of wax beads and melt it in a spoon. You can choose your favorite color, and bloggers choose a mixture of pink, white, and purple.
4. Quietly wait a few seconds for the wax beads to melt completely.

Step 2: Complete a stamp
1. Pour the melted wax beads evenly on the ceramic wax seal mat to form a circle.
2. Press the spliced seal stamp on the wax, and try to choose it in the middle.
3. After waiting a few seconds, take the seal stamp off.
4. A floral mix wax seal stamp is formed. Is it very beautiful? The blogger tried other mixed colors to make the stamp, which is really fantastic when put together.

Flowers and plants are essential in spring. Let us keep the beauty of spring together. Hurry up and act! If you have a new idea, you can also use comments to tell us.
Thank you for watching! A hug from Craspire.


