


Craspire DIY Project--How to Make Mixed Gold Leaf Wax Seal Stamps
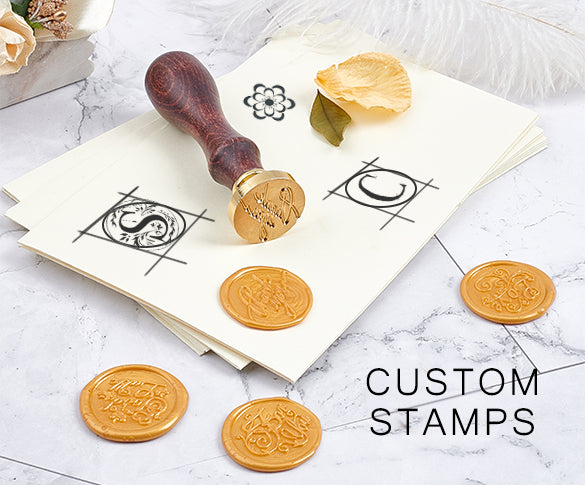
Hello, my dear friends, welcome to Craspire project. Today we are going to share how to make mixed color wax seal stamp crafts with 25mm wax seal stamp head. In this tutorial, we use a nature pattern. Read more and start with Craspire!
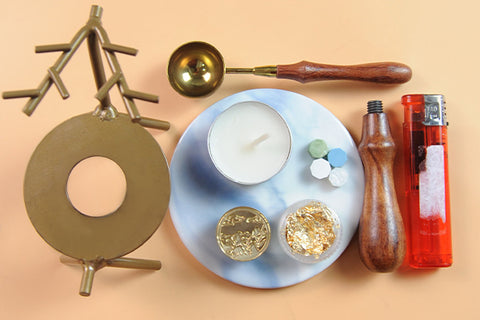
Supplies Needed for This Project:
Tealight candle
Lighter
Gold Foil Paper
Marble Pattern Ceramic Wax Seal Mat
Tweezers

Step 1: Melt some wax
1.Light the candle with a lighter.
2.Place the lit candle under the Peru painted iron wax furnace.
3.Put 2-3 colors of wax beads in the melting spoon and put it on the fire to melt it. Finally add a little golden tin foil.
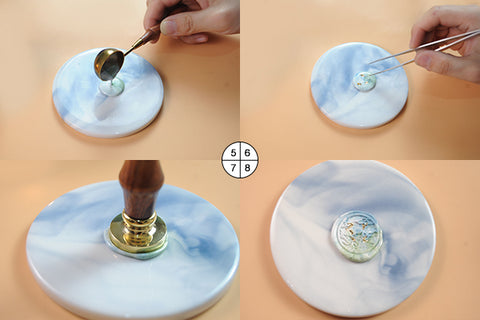
Step 2: Complete a stamp
1.Pour the melted mixed wax on the wax seal mat. Be careful when you pour it.Let it form a circle.
2.Use tweezers to add a little golden tin foil to the wax.
3.Print the head of the seal we want to use on the wax.
4.We can let the wax cool for a few seconds to make it better shape. Then remove the stamp head and it will form a beautiful pattern.(If you like obvious patterns, you can also use a golden marker to stroke. The effect is shown in the figure below.)
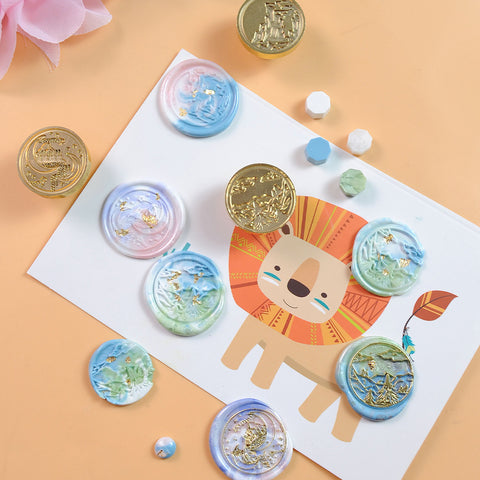
Is this much simpler than imagined? Let's try to mix our favorite colors together to make stamps. It will be very interesting.
Thank you for watching! A hug from Craspire.


